The Raspberry Pi Pico is a great little controller board to use with your electronics projects. However, it doesn’t come with any pins connected to its 40 GPIO pin holes. Without pins, the board can’t connect to motors, lights, sensors or any of the other things you’d need to do a project. In order to get any practical use out of the Raspberry Pi Pico, you’ll need to solder pins to it. More advanced users can solder single wires directly to the holes or use female pin headers, but here we’ll show you how to attach a complete set of male pins, the most common and useful setup.
Soldering is an essential maker skill and the Raspberry Pi Pico provides a great opportunity to learn this skill. The Raspberry Pi Pico has 40 GPIO pins which need to be soldered in order to use the board. In this guide, we’ll show you how to solder these pins so the Pico is ready for use in all your projects, including our other tutorials.
If you have never soldered before, then the $4 Raspberry Pi Pico is a fun board to get started with. It is an easy board to solder and it hasn’t got any cramped spaces or large solder joints.
The key to soldering safely is preparation. Get your workspace setup before you turn the soldering iron on. Sit down and test that everything is to hand. Can you reach the solder? Do you have all of the equipment? Do you have eye protection and ventilation?
Soldering is great fun, and you will get the hang of it, take your time and enjoy yourself.
For this project you will need:
- Strip of 40 Male header pins
- Side cutters / snips
- Half / full size breadboard
- Soldering iron and stand
- Solder
- Eye protection is best practice, particularly if you don’t wear glasses
1. Ensure your workspace is clear. Place the soldering iron in its stand and then place the stand within easy reach of your “soldering hand”. Wet your cleaning sponge, or make sure a brass tip cleaner is nearby. Turn on the soldering iron and let it heat up. If you have any form of fume extraction, turn it on now. If not remember to solder near an open window.
2. Take a strip of male header pins and count the number of pins. A typical strip will have 40 pins. Split the pins using the side cutters / snips so that there are two strips of 20. Take care and double check before making the cut.
3. Fit the two strips to the Raspberry Pi Pico, so that the shortest legs go through the holes on the board. The CPU of the Pico should be facing up, and the long pins facing down. Alternatively you can flip the Pico over so that the CPU is facing the breadboard. This will show the GPIO pin names, useful if you are unsure as to what each pin does.
4. Ensure the long pins are at a 90 degree angle to the Raspberry Pi Pico and insert them into the breadboard. Check that all of the pins are seated correctly and everything is straight.
5. Ensure you are wearing eye protection before moving on. Carefully remove the soldering iron from the stand, and “tin” the end with a little solder. Wipe the solder onto the cleaning sponge / brass tip cleaner to ensure that the tip is clean and ready for use.
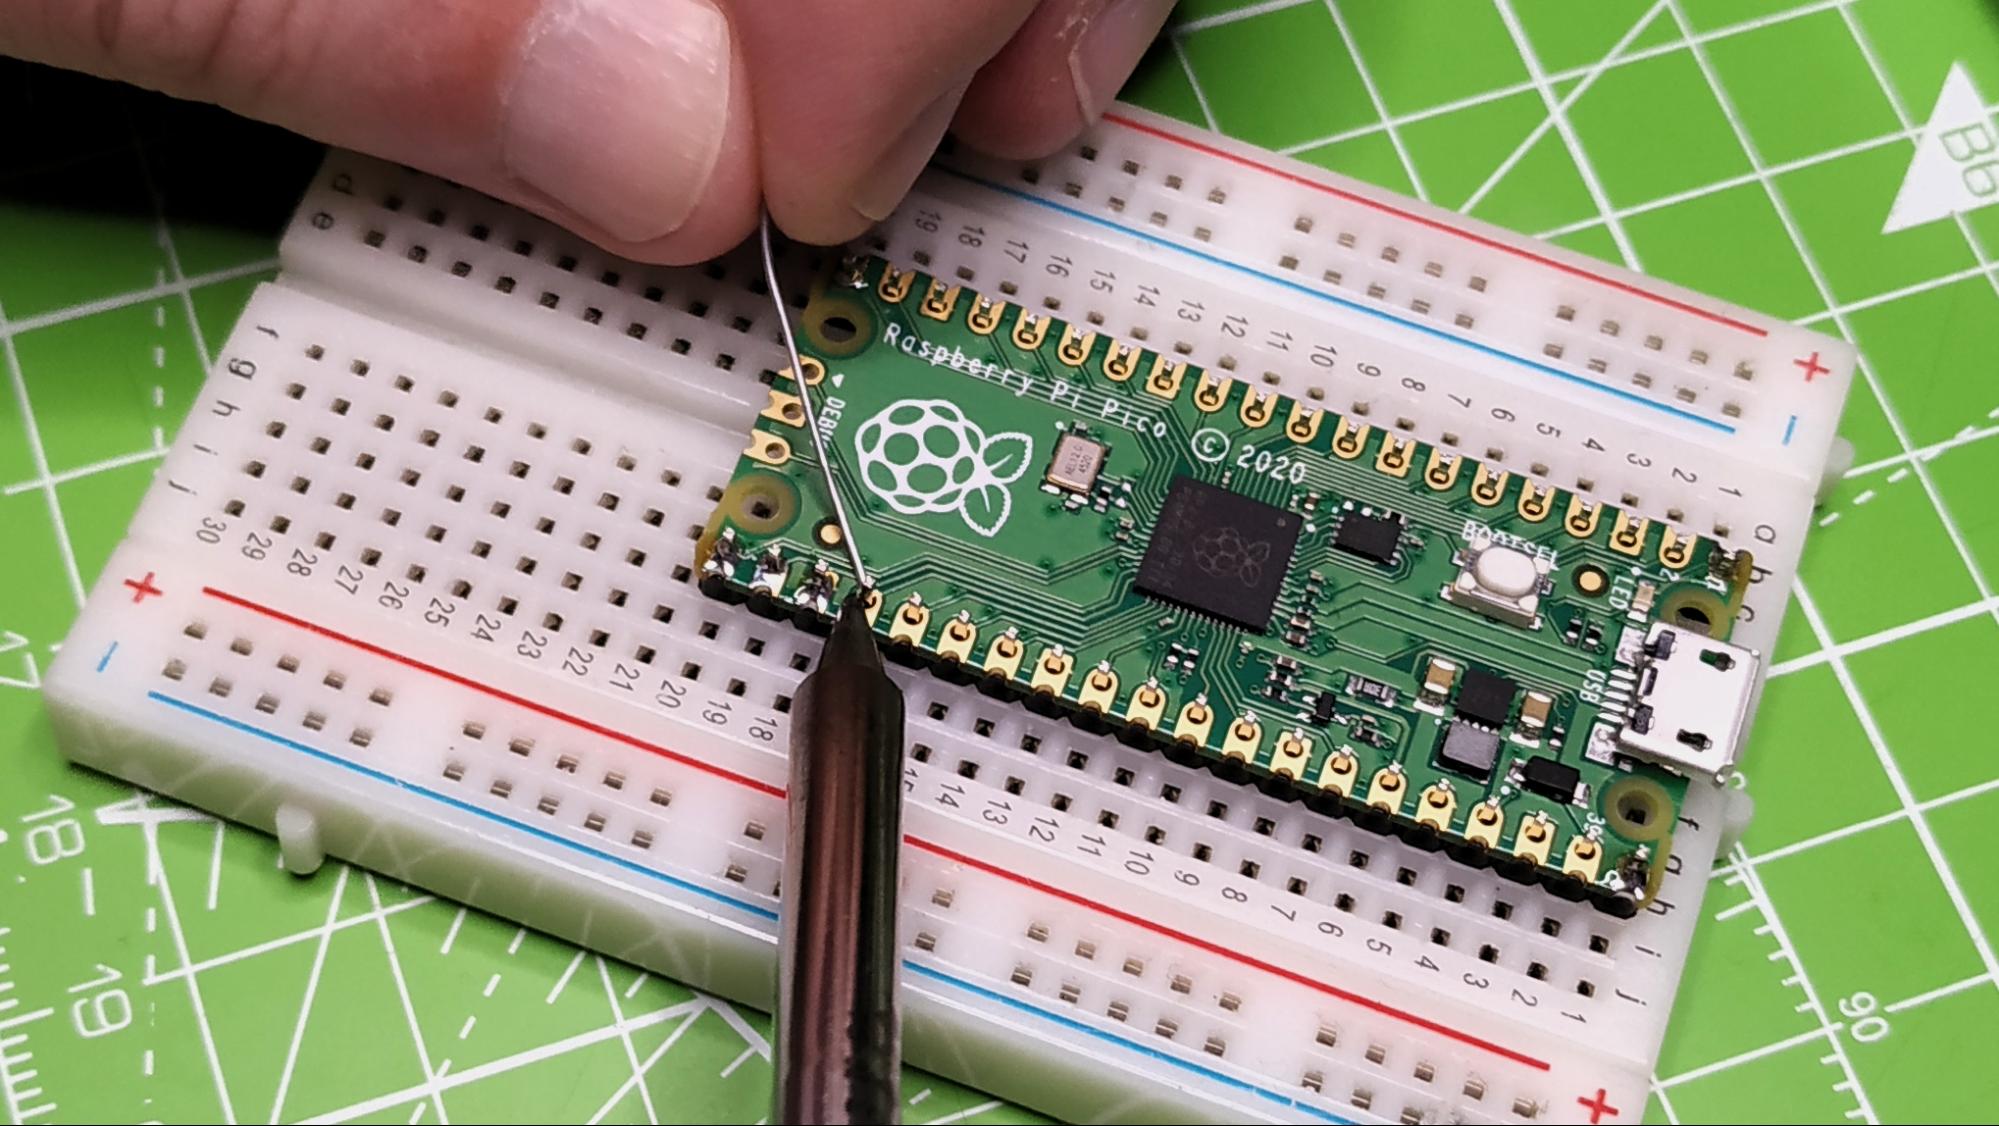
6. Bring the tip of the soldering iron to the one corner pin of the Raspberry Pi Pico. Gently heat the pin and the brass “hole” around the pin. Gently feed in a little solder so that it melts and joins the pin to the brass. Remove the iron and wipe the excess on the sponge / brass cleaner. Place the soldering iron back in its stand.
7. Check your soldering! Take a close look at the joint. Is there good contact? Does it look right? Sometimes we may need to reheat a joint, then flow a little more solder to ensure a good connection.
9. Solder the remaining pins, observing the instructions in steps 6 and 7. When done turn off your soldering iron and let it cool down.
If you soldered with the long part of the pins facing upward, it should look like this:
You are now ready to move on to one of tutorials such as learning how to setup MicroPython, Basic Inputs and Outputs, or Robotics with Raspberry Pi Pico.
