The Raspberry Pi Pico has one major issue: it comes with no header pins soldered to it. As our tutorial on how to solder pins to Raspberry Pi Pico shows, solving this problem isn’t difficult, but we do need to make sure that they are straight and if we have a lot of boards, this all takes time. Martin O’Hanlon was faced with this issue and so used a little 3D modelling knowledge and a 3D printer to create a jig to hold the pins in place.
I had a load of @Raspberry_Pi Pico’s I had to solder. I made this little holder. It was a real time saver (I didn’t really think it would work, being made of plastic!) pic.twitter.com/v7lD78AdjjMarch 2, 2021
See more
O’Hanlon, a senior learning manager at the Raspberry Pi Foundation, used the web based Tinkercad application to design a 3D printable jig that would securely hold the header pins in place and enable neat soldering for the Raspberry Pi Pico GPIO pins.
The resulting print was then printed using a Creality Ender 3 Pro 3D printer, but the print can be sliced and printed on any model of 3D printer. At first O’Hanlon was a little unsure as to whether his jig would survive an encounter with a soldering iron but ,so far, it seems to have been unscathed.
Image 1 of 5
Image 2 of 5
Image 3 of 5
Image 4 of 5
Image 5 of 5
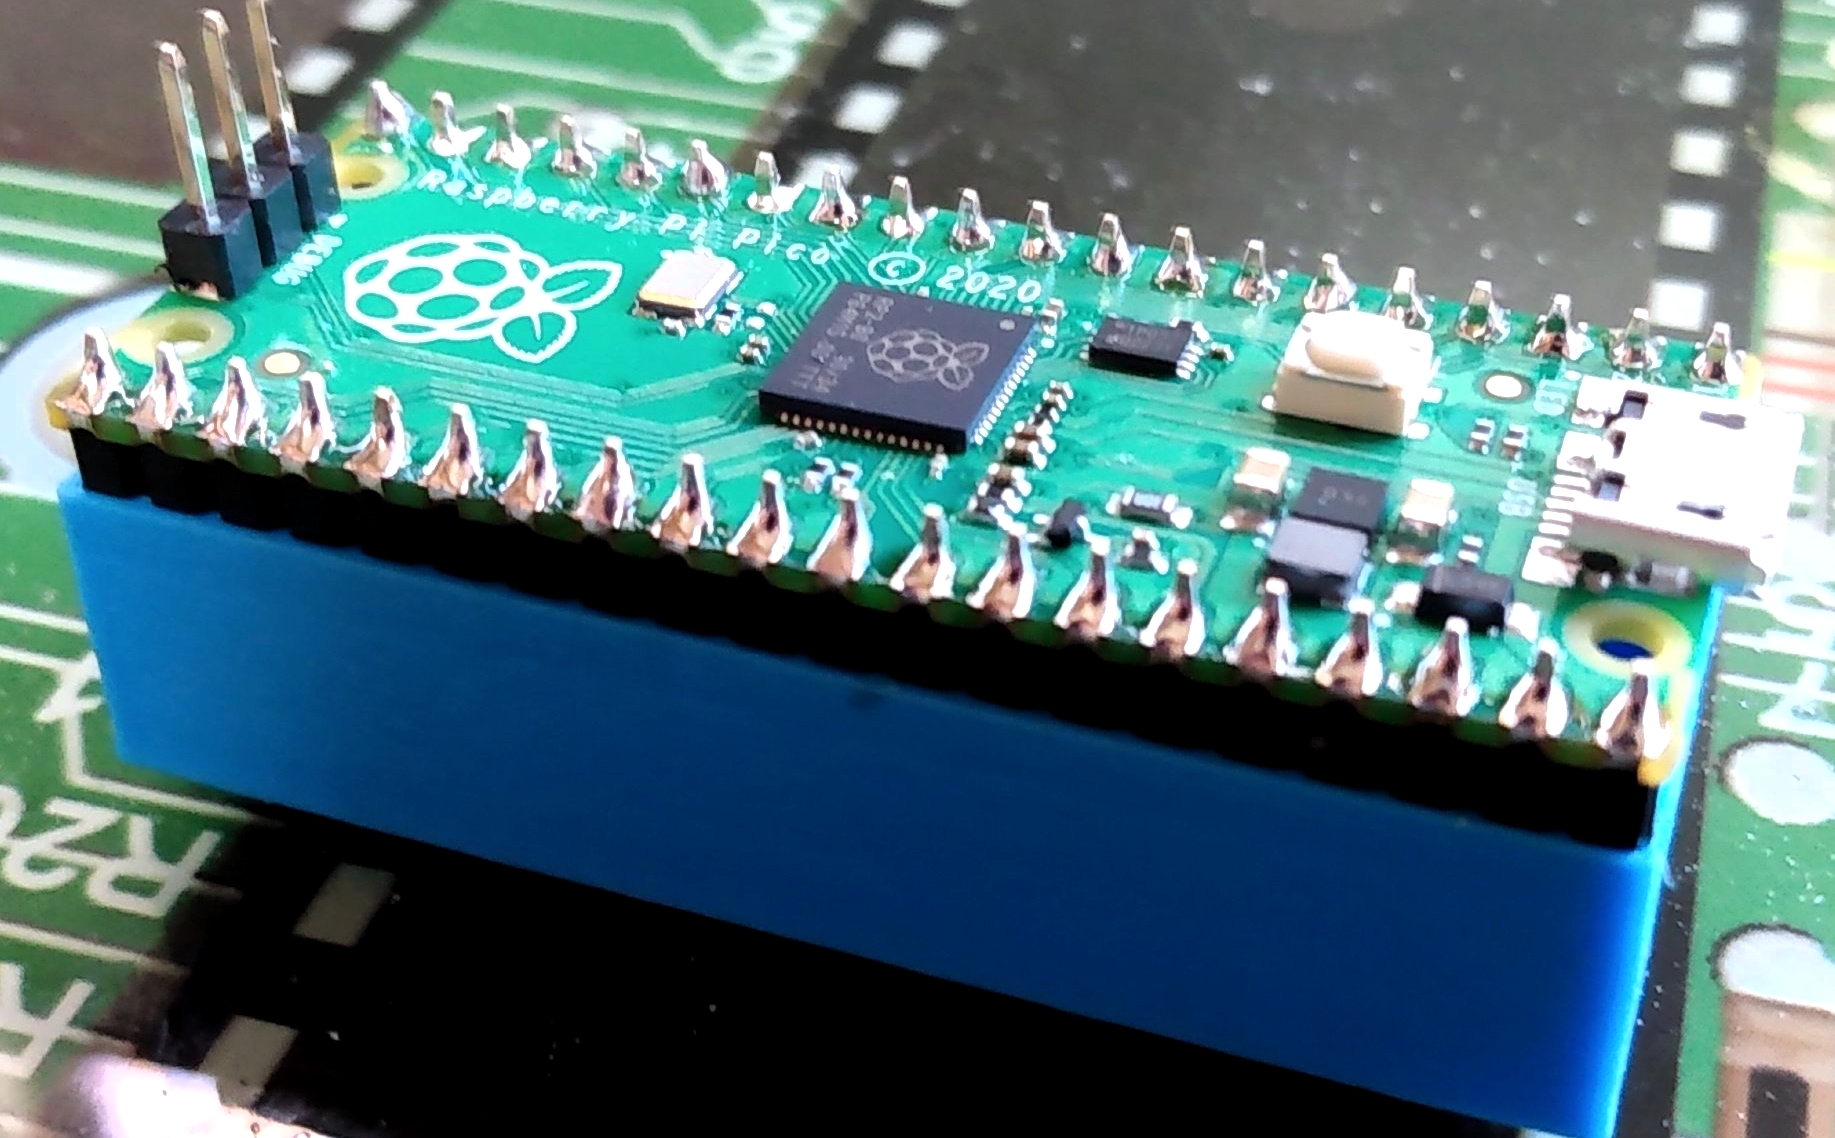
The jig has slots used to hold both the GPIO and the SWD debug pins. The first step to using the jig is to insert the three SWD header pins and then place the Pico face down onto the pins and then solder. We can then remove the Pico and insert two 20 pin headers into the long channels on the edge of the jig. Then placing the Pico facing upwards we can solder the GPIO pins with ease.
O’Hanlon’s soldering jig is practical and, given the size, it shouldn’t take too long to print. O’Hanlon has provided a downloadable file which can be sliced and printed on your 3D printer.