The latest AIO to land on our test bench is Montech’s new Hyperflow Silent 360. In contrast to the company’s previous HyperFlow 360 ARGB, this cooler has lower maximum noise levels and a sleek all-black design without ARGB lighting.
In some ways, the Hyperflow Silent is an improvement over Montech’s last generation AIO – especially when set to run silently. In other ways, it regresses over the last-generation design, particularly in worst-case scenarios. Testing this AIO was interesting, as the results provide a good example of how a cooler can perform better or worse depending on where a CPU’s hotspot is located, as you’ll see in detain in our testing below.
Will this AIO make our list of best coolers on the market? Let’s take a look at the specifications and features of the Hyperflow Silent 360 AIO, then we’ll go over thermal performance and noise levels.
Cooler specifications
Swipe to scroll horizontally
|
Cooler |
Montech Hyperflow Silent 360 |
|
MSRP |
$89 USD |
|
Radiator Material |
Aluminum |
|
Pump Speed |
Up to ~3100 RPM |
|
Lighting |
None |
|
Warranty |
6 Years |
|
Socket Compatibility |
Intel Socket LGA 1851/1700/115x/1200/20XX AMD AM5 / AM4 / AM3 |
|
Unit Dimensions (including fans) |
397 (L) x 120 (W) x 55mm (D) |
|
Base |
Copper cold plate |
|
Maximum TDP (Our Testing) |
>258W with Intel’s i7-14700K |
Packing and included contents
The packaging for Montech’s Hyperflow Silent 360 is relatively standard, not much different from the average AIO. The product is secured with plastic wrappings and molded cardboard. The fans are preinstalled for convenience.
Included in the box are the following:
- Three pre-installed 120mm fans
- 360mm radiator and CPU block
- Pre-installed Thermal Paste
- Extra thermal paste and applicator tools
- Mounting accessories for modern AMD & Intel platforms
- Tubing management clips
Features of Montech’s Hyperflow Silent 360
▶ Pre-installed and extra thermal paste
Montech’s AIO comes with pre-installed thermal paste, to make installation simple and easy for most users.
Montech also includes a small tube of thermal paste, as well as a paste stencil and spreading tool for users who might need to install the AIO more than once.
▶ 27mm radiator
Montech’s AIO includes a radiator 27mm thick, which is standard for most liquid coolers.
▶ Accessible refill port
I go out of my way to recognize companies when they don’t include a consumer-unfriendly “warranty void if removed” sticker on top of the refill port – an action which is technically illegal under the Magnuson-Moss Warranty Act in the USA. Montech includes an accessible refill port without any warnings so that users who wish to service their equipment can do so. Most users won’t have to do this during the lifespan of the six-year warranty, but it’s nice to have the option should the need arise.
▶ Tubing management clips
Included are two tubing clips, to help keep things tidy and organized.
▶ 120mm fans
There’s more to a cooler than just the heatsink or radiator. The bundled fans have a significant impact on cooling and noise levels, as well as how the cooler looks in your case. It seems that the primary difference between the fans in Montech’s HyperFlow ARGB and this new model is that these fans run slightly quieter and have slightly lower static pressure and airflow. Also, of course, there’s no RGB lighting here.
These fans have both advantages and disadvantages – as you’ll see in our benchmarks below. When noise-normalized (that is, when set to a specific low 38.9 dBA sound threshold) these fans allow for better performance compared to Montech’s previous AIO.
Swipe to scroll horizontally
|
Dimensions |
120 x 120 x 28mm |
|
Fan Speed |
800-2200 RPM |
|
Air Flow |
Up to 72.3 CFM |
|
Air Pressure |
Up to 3.12 mmH2O |
|
Bearing Type |
FDB |
|
Lighting |
None |
▶ Full RAM compatibility
Like almost every other AIO on the market, Montech’s Hyperflow Silent 360 doesn’t interfere with or overhang RAM DIMMs in any manner, allowing for use of all sizes of RAM, no matter how tall.
▶ Six-year warranty
Most AIOs on the market have a limited warranty of only 1-3 years. Montech goes the extra mile with a six year warranty for the Hyperflow Silent 360, which is rare for an AIO with a budget price.
▶ Things I didn’t like about this AIO
The main thing I don’t like about this AIO is branding it as “silent”, whic is misleading. While it does run quieter than Montech’s last AIO, I wouldn’t consider it “silent” in any sense of the word, and runs louder than it needs to as we’ll soon see.
Testing configuration – Intel LGA1700 and LGA1851 platform
Swipe to scroll horizontally
|
CPU |
Intel Core i7-14700K |
|
GPU |
ASRock Steel Legend Radeon 7900 GRE |
|
Motherboard |
MSI Z790 Project Zero |
|
Case |
MSI Pano 100L PZ Black |
|
System Fans |
Iceberg Thermal IceGale Silent |
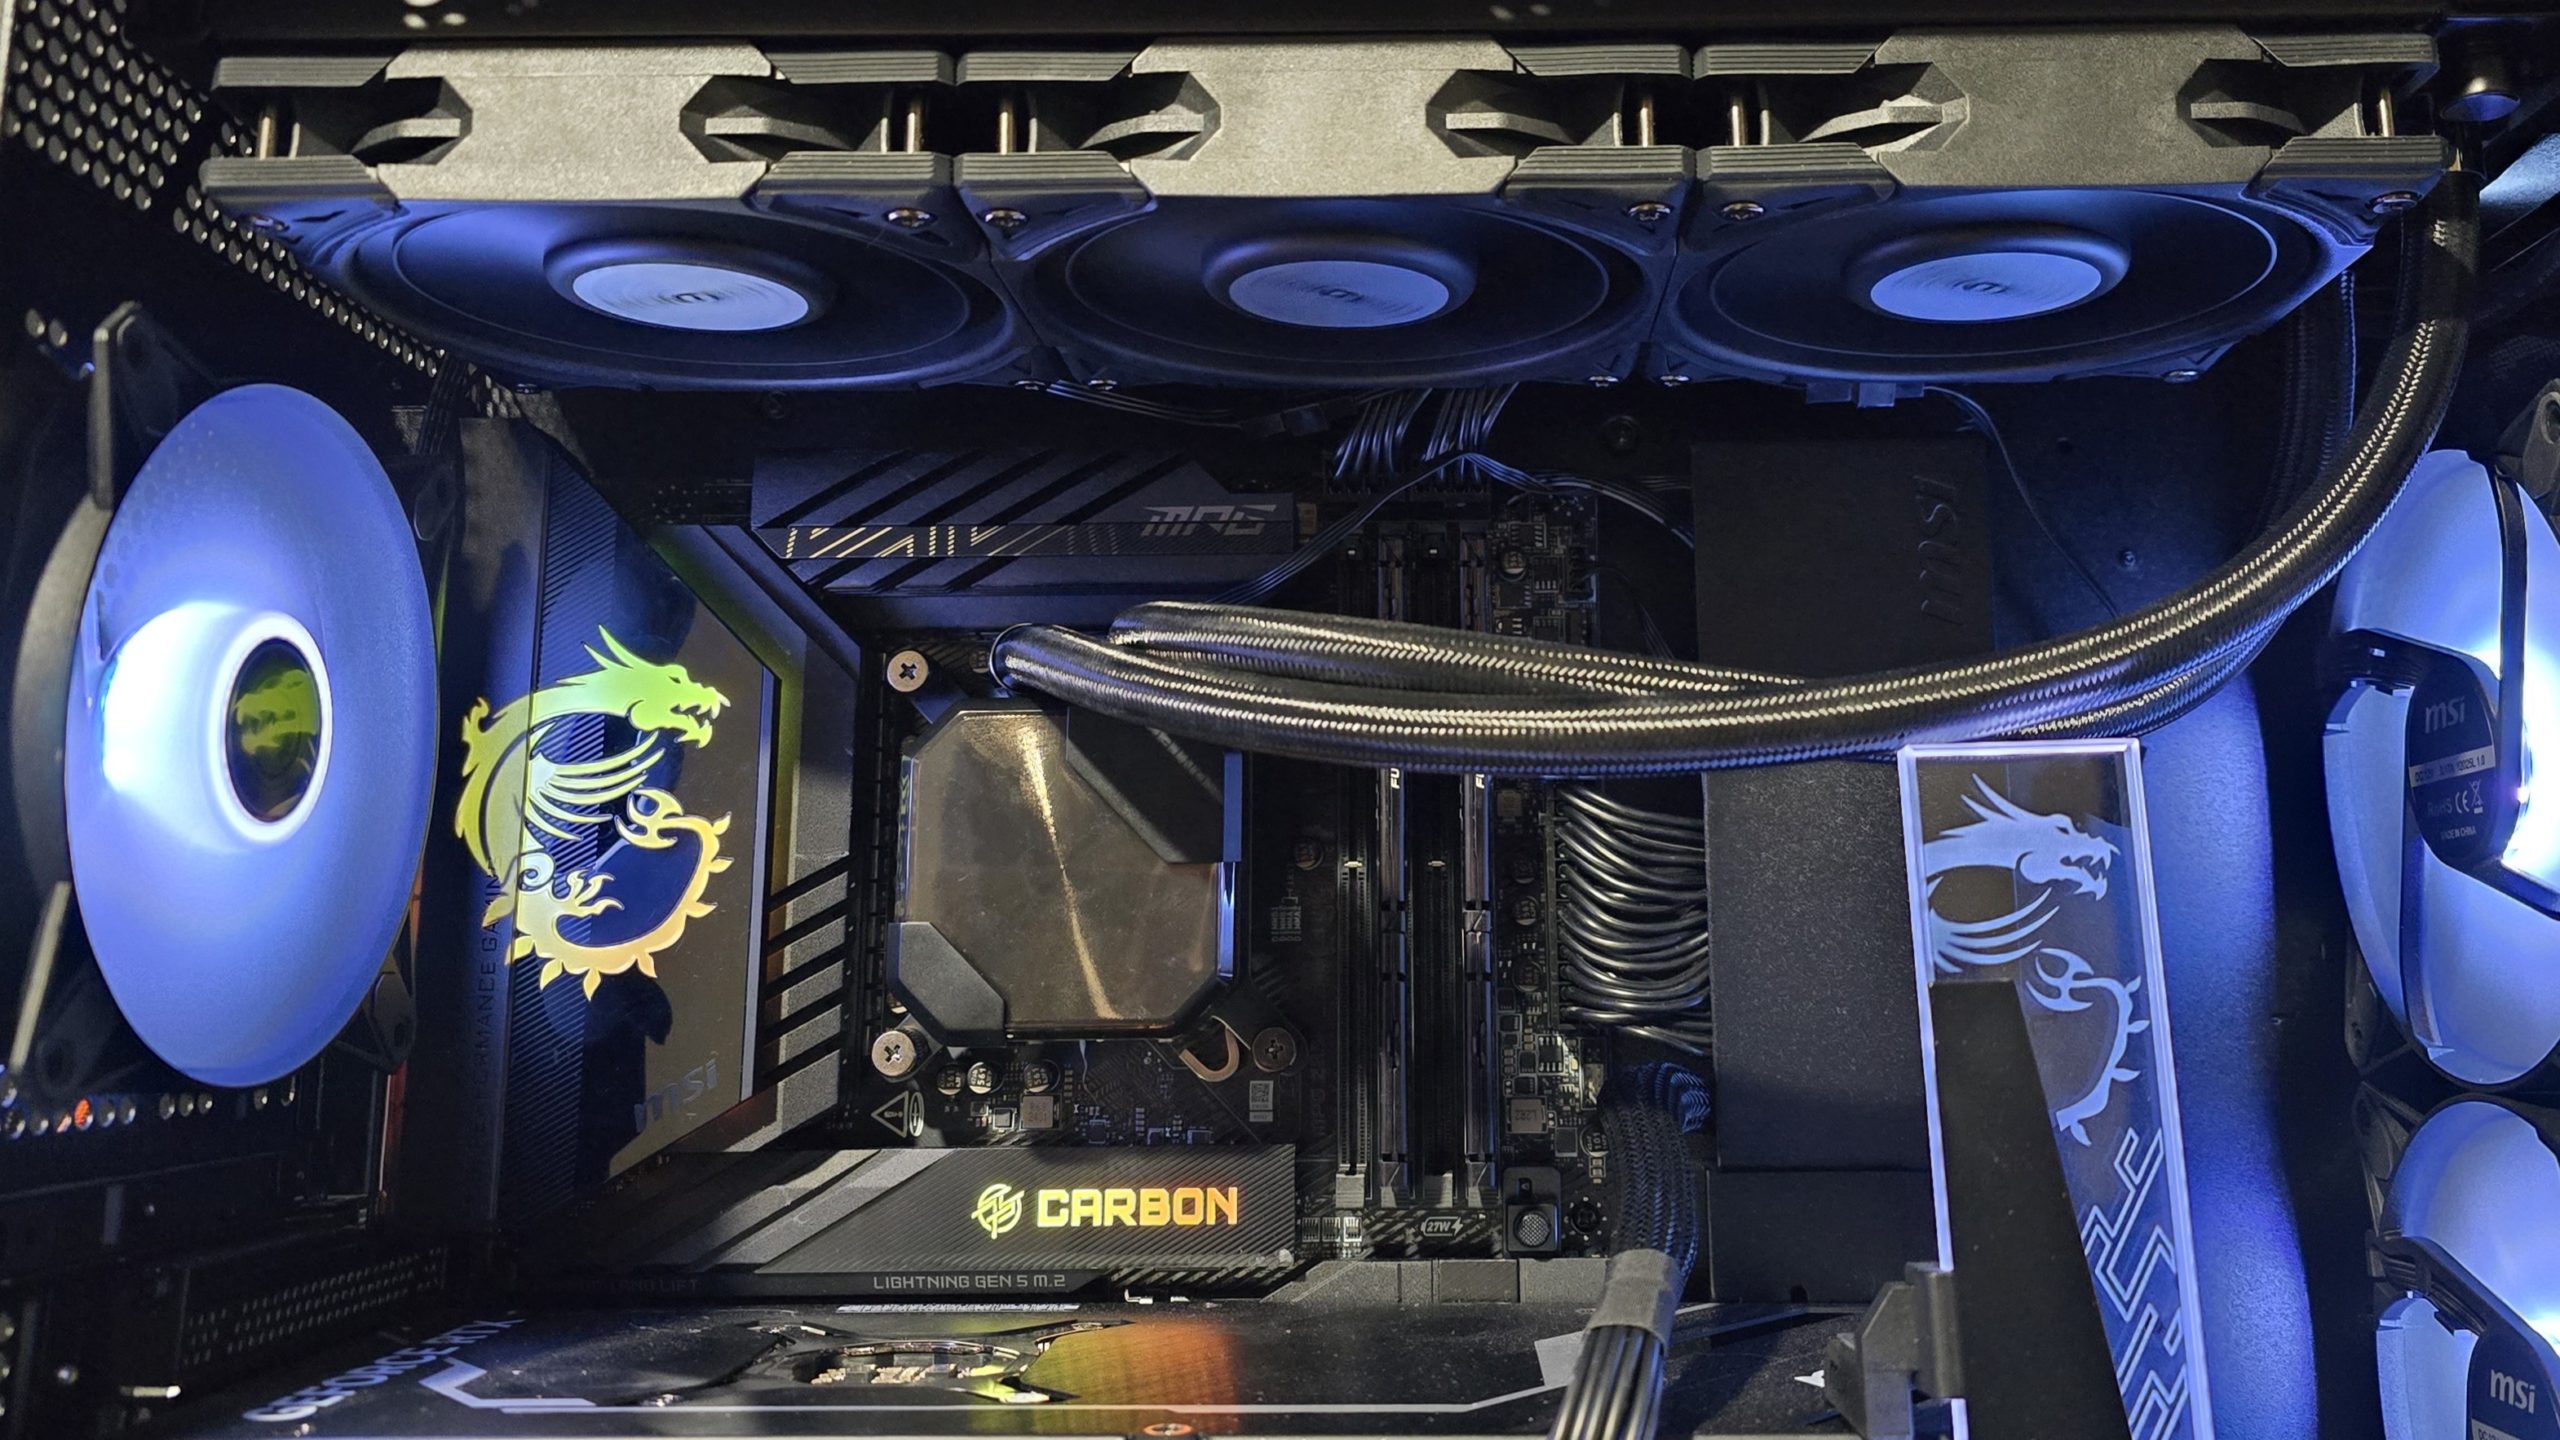
There are many factors other than the CPU cooler that can influence your cooling performance, including the case you use and the fans installed in it. A system’s motherboard can also influence this, especially if it suffers from bending, which results in poor cooler contact with the CPU.
In order to prevent bending from impacting our cooling results, we’ve installed Thermalright’s LGA 1700 contact frame into our testing rig. If your motherboard is affected by bending, your thermal results will be worse than those shown below. Not all motherboards are affected equally by this issue. I tested Raptor Lake CPUs in two motherboards. And while one of them showed significant thermal improvements after installing Thermalright’s LGA1700 contact frame, the other motherboard showed no difference in temperatures whatsoever! Check out our review of the contact frame for more information.
I’ve also tested this cooler with Intel’s latest platform, Arrow Lake and LGA 1851.
Swipe to scroll horizontally
|
CPU |
Intel Core Ultra 9 285K |
|
GPU |
MSI Ventus 3X RTX 4070Ti Super |
|
Motherboard |
MSI Z890 Carbon Wifi |
|
Case |
MSI MPG Gungnir 300R |
|
System fans |
Pre-installed case fans |
LGA 1700 and 1851 installation
The installation of the AIO is simple. The following steps assume that you will mount the radiator to your case first.
1. You’ll first need to place the backplate against the rear of the motherboard, using the adhesive strips to secure it.
2. Next you’ll need to secure the mounting studs and connect them to the motherboard backplate.
3. Take the CPU block and place it atop of the CPU, and secure it with the included screws.
4. Afterwards, connect the PWM cables to your motherboard and then power on your computer to complete installation.