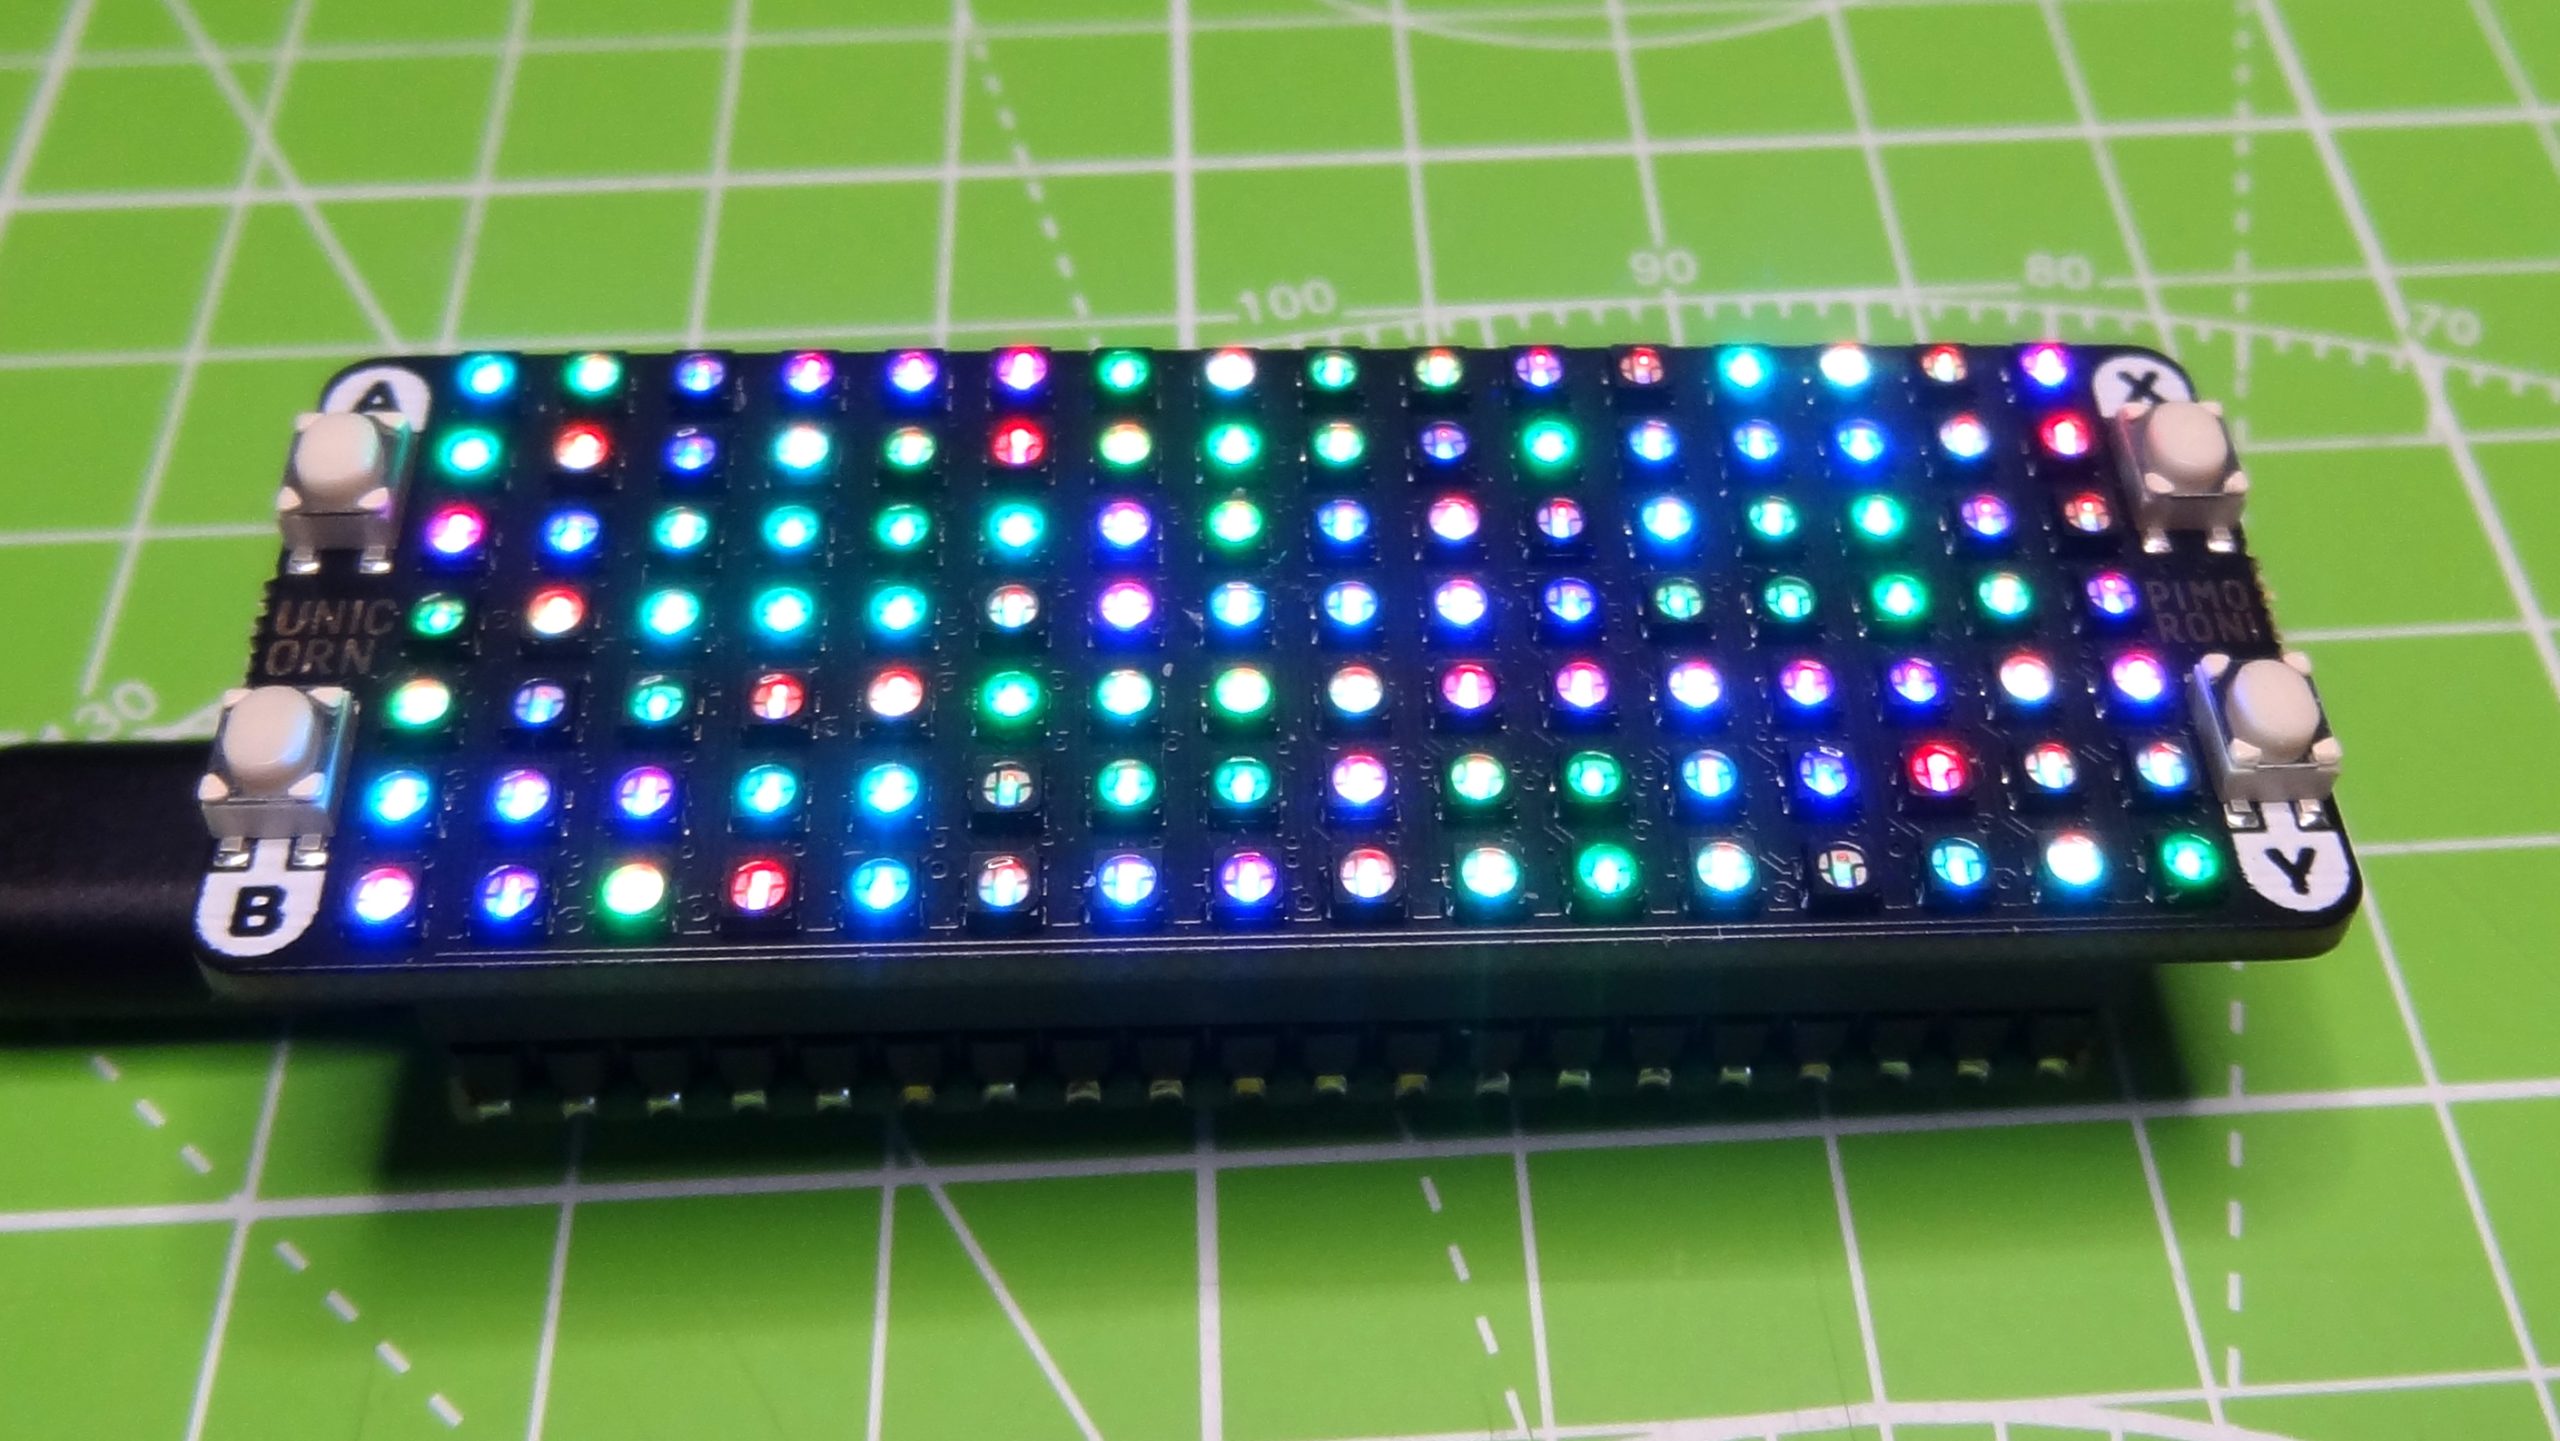
Pimoroni’s “Unicorn” boards have been part of the Raspberry Pi story since the Unicorn HAT came out in 2014. For their latest iteration, Pimoroni has introduced the Pico Unicorn Pack, designed especially for the Raspberry Pi Pico. This £19.80 () add-on board features 112 RGB LEDs and four push buttons all in a neat “pack” that fits to the GPIO pins of the Raspberry Pi Pico.
Design and Use of the Pimoroni Pico Unicorn
Image 1 of 2
Image 2 of 2
Measuring just 2.4 x 1 x 0.4 inches (62 x 25 x 10mm) Pico Unicorn comes with a header pin designed to fit to the male header pins used with the Raspberry Pi Pico. Connecting the Pico Unicorn to your Pico is a breeze. Just make sure to match the orientation of the micro USB connector with that printed on the Pico Unicorn. Power is passed from the Raspberry Pi Pico to the Pico Unicorn via the GPIO, so only one power connection is required.
Programming the Pico Unicorn is possible via C/C++ and MicroPython (see how to set up Raspberry Pi Pico), with libraries and examples for both. For our review, we stuck to MicroPython as this is the language favored by the Raspberry Pi Foundation. To use the Pico Unicorn we need to download and install a custom version of MicroPython which includes the libraries / modules for Pimoroni’s range of Pico add-on boards.
The picounicorn MicroPython module is simple to use and, at the most basic level, all we need to do is import the module, initialize and then instruct the code as to which LED we would like to control, and what color we would like it to be. For our test script we wrote some code to randomly change the color of an LED using the urandom module to pick a number between 0 and 15 (x axis) and 0 to 6 (y axis). Colors are created by mixing R,G,B values between 0 (off) and 255 (full brightness).
import picounicorn, utime, urandom

picounicorn.init()
while True:
    x = urandom.randint(0,15)
    y = urandom.randint(0,6)
    r = urandom.randint(0,255)
    g = urandom.randint(0,255)
    b = urandom.randint(0,255)
    print(x,y,r,g,b)
    picounicorn.set_pixel(x,y,r,g,b)
    utime.sleep(0.01)
Use Cases for the Pimoroni Pico Unicorn
Pico Unicorn is much more than just pretty lights. The LEDs can be used to visually communicate data, scroll text and when used with the four pushbuttons we can even build simple games. Pico Unicorn can also be used with the Pico Omnibus and Pico Decker boards which expand the numbers of packs that can be used with the Pico.
Bottom Line
The Pico Unicorn is a simple and gentle introduction to using add-ons with your Raspberry Pi Pico. The MicroPython module is straightforward and the immediate results will captivate the imagination of eager coders.