Josef Prusa finally gave his customers what they wanted: a fast CORE XY 3D printer to compete with Bambu Lab and all the Voron Design clones on the market. The new CORE One has a brilliant design that’s shares parts with the familiar MK4S to the point that a conversion kit is being made available for $450.
Prusa fans have been begging the European manufacturer to produce a Core XY ever since the reveal of the industrial Pro AFS (Automatic Farm System) several years ago. That machine is a bank of nine Core XY printers, proving that the company could indeed make more than bedslingers.
The CORE One is designed with easy maintenance in mind: nothing is welded or glued in place, and the whole thing can be built with a screwdriver. The steel case serves as an exoskeleton, which the company claims is nearly indestructible. We’ll cover more on the design later in this review.
The CORE One is not intended to replace the MK4S, but rather provide a better option for makers who need an enclosed 3D printer. This machine has a similar footprint and build volume of the classic bed slinger, but takes up much less space than an enclosure for a MK4S. It’s also about 20% faster and has a vented chamber that can be heated to 55 degrees C for printing engineering filaments or kept under 30 degrees C, which is cool enough for PLA. This means the door can remain closed for safety around children in a home or school environment.
The CORE One is retailing at $1,199, only $200 more than the MK4S. You can save a little money by building the kit version for $949, or converting a MK4S for $449. The Prusa CORE One lives up to its reputation and is one of the best 3D printers we’ve tested to date.
Specifications: Original Prusa MK4S
Swipe to scroll horizontally
| Build Volume | 250 x 210 x 270 mm (9.84 x 8.3 x 10.6in) |
| Material | PLA/PETG/TPU/ABS/ASA /PC (up to 300 degrees) |
| Extruder Type | Direct drive |
| Nozzle | .4mm (Highflow CHT) |
| Build Platform | PEI spring steel flex plate |
| Bed Leveling | Automatic |
| Filament Runout Sensor | Yes |
| Connectivity | USB, LAN, Wi-Fi, App |
| Interface | Color touch screen with knob |
| Machine Footprint | 415 x 444 x 555 mm (16.3 x 17.5 x 21.8 in) |
| Machine Weight | 22.5 KG (49.6 lbs) |
Prusa CORE One: Included in the Box
The Prusa CORE One we received was pre-assembled. It only needed to be unpacked and have its screen mounted. Besides tools, the printer comes with a full spool of Galaxy Black Prusament PLA, a USB Stick, a handbook on 3D printing with your new machine, and a bag of Gummy Bears. The USB stick contains several models, while PrusaSlicer is available for free download from the website.
We also received extra build plates, a Buddy Camera, magnets, and a rubber fish for the review.
Design of the Prusa CORE One
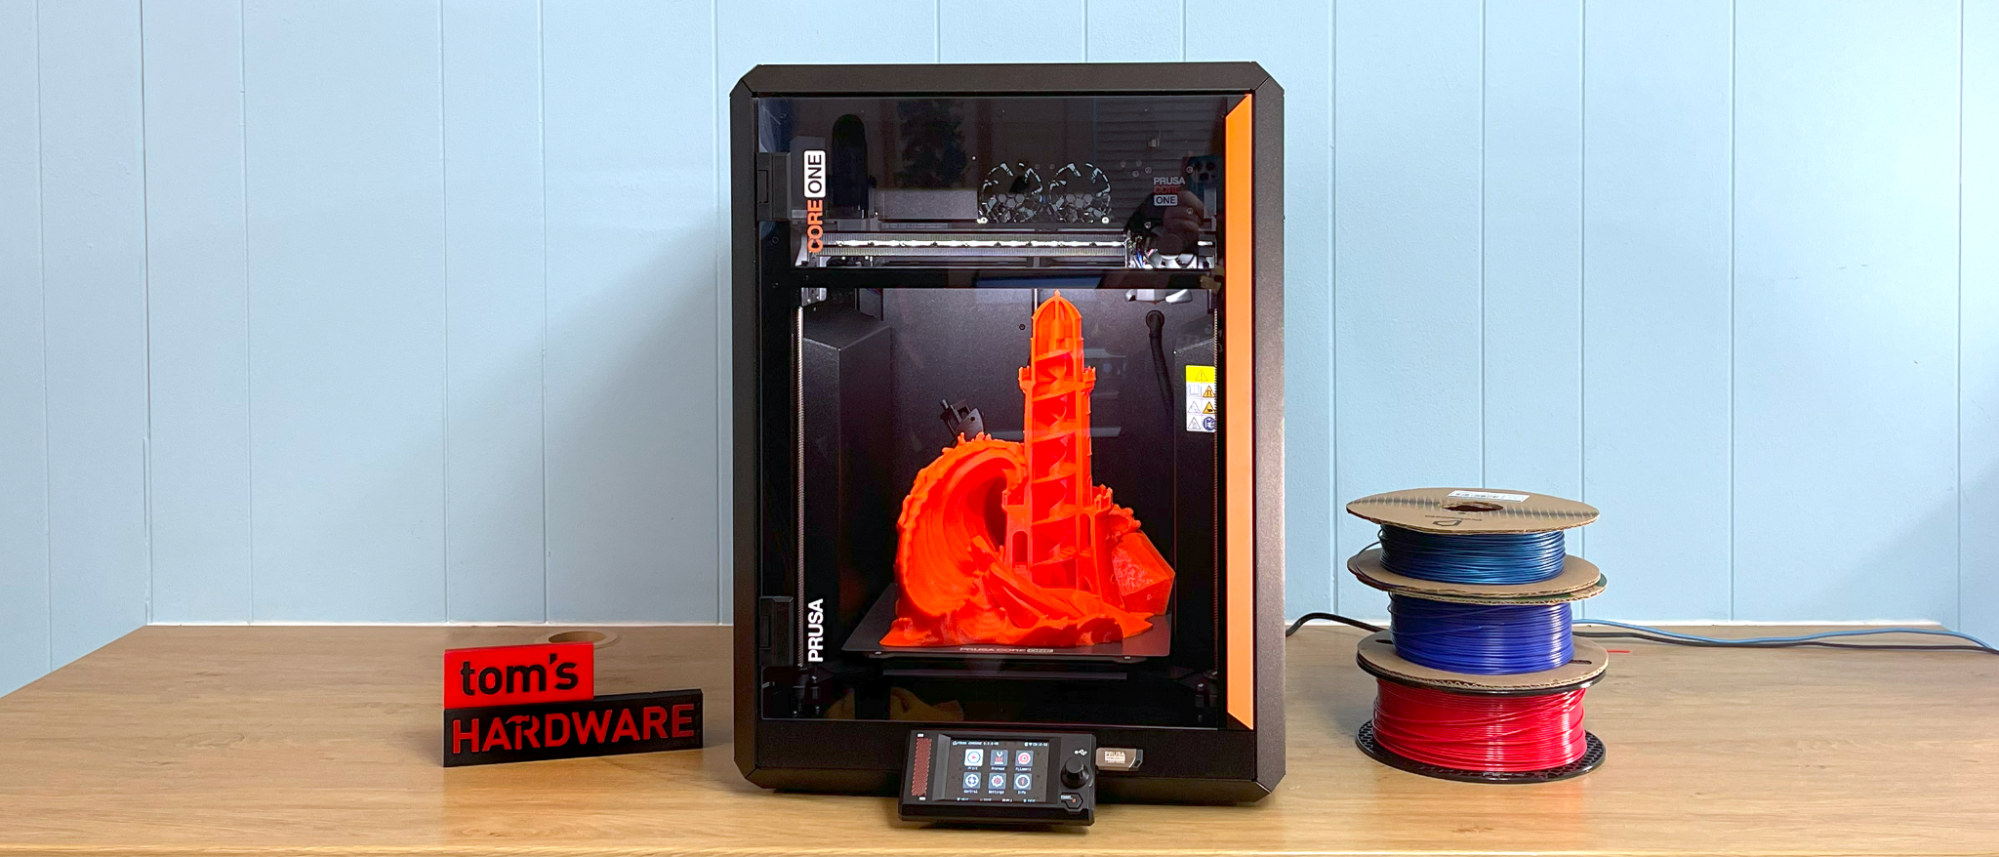
The CORE One is the first consumer Core XY 3D printer by Prusa Research. It has a slim, steel exoskeleton with indents on either side to conceal the spool holder and customizable storage space. The door and upper parts of the side panels are translucent black polymer. The top panel is semi-permanent, held in place by plastic rivets, and has a vent you can open and close. The top panel is not difficult to remove for maintenance, and Prusa sends along a bag of extra rivets if you need them. I didn’t bother putting the rivets back in and just let the panel rest on the top. Since the shell is made of folded steel, it’s not exactly airtight, with many gaps at the seems – a few empty screw holes isn’t going to spoil the system.
The exoskeleton is an interesting concept. It provides a strong, stiff frame for the printer while also minimizing materials and avoiding that cheap plastic feel that plagues many other designs. The indented sides do more than slim down the printer’s silhouette, it also reduces the interior space of the printer, allowing the chamber to be sufficiently heated (when needed) by only the heater bed.
Like every other Prusa printer before it, several of the CORE One parts are 3D printed. The factory uses PETG for some older bedslinger parts, but the CORE One parts are made with PC Blend Carbon Fiber. I contacted the factory and found that enclosed MK4S printers still dominate the farm, with CORE One machines slowing joining the mix. Prusa Research also does its own injection molding, which you can see on the LCD case.
Another thoughtful touch is the door hinge, which can be flipped if you rather have it open on the other side. The door can completely open 180 degrees, but Prusa encourages users to go ahead and keep it closed for any material, thanks to their active cooling system. The door has a sensor that will warn you to keep it shut and stop the print when the door is opened. This is a nice safety feature for schools, parents of small children, and pet owners. Thankfully, the sensor can be switched off if you want the freedom to poke your nose or a camera in there.
I found all the plastic panels to be quite staticky and eager to attract dust, but a spritz of Static Guard on a lint-free cloth solved that problem.
The CORE One specs don’t include acceleration rates, as the company puts quality over speed. I had to check out the PrusaSlicer settings to find any stats on speed, which are most likely very conservative. The CORE One is about 15 to 20% faster than the MK4S with the same default speed settings due to a few higher acceleration rates, mostly with travel and infill.
The CORE One uses about 70% of the same parts as the MK4S, making many consumable parts and upgrades compatible between the two printer lines. If you have a stash of nozzles from an MK3, they can be used on a CORE One (with an adapter). Prusa is famous for continuing to support old machines and leaving a path to upgrade open, which continues with the new Core XY design.
One thing that didn’t carry over is the styling of the MK4S fan, a chunky protrusion hanging out in front of the nozzle. The CORE One gets a more svelte look with a 360 wrap-around fan shroud, and the fan itself is hidden in the back. During our tests, the cooling was a bit better and had a more pleasing aesthetic.
The motion system on the CORE One is a little louder than the MK4S, but its fans produce only a soft hum.
A few of the CORE One upgrades are optional, and will need to be purchased separately. There’s a GPIO hackerboard for tinkering with the machine’s code to do tricks, a new Buddy Camera for monitoring the chamber and an advanced filtration system coming soon. We received a camera for testing, and its not as good as other systems. The camera needs extra light to produce a color image and it’s stuck in an old school one frame every 10 seconds. It’s good enough to see if the plate is clear, but not very exciting to watch. Prusa Research has promised an upcoming firmware fix, but I have no idea when that would be.
This printer also doesn’t have the optional accelerometer we could get for the MK4S. It would seem Prusa has doubled down on his factory settings being all that you need.
The CORE One also has the new NFC antenna that makes getting your Prusa online a simple task. The app is entirely optional for those who wish to keep their printers offline.
Like the MK4, bed leveling is fully automatic, with no manual adjustments. First layers go down perfectly smooth thanks to a load cell sensor that has replaced the old PINDA probe. The sensor is connected to the nozzle, which allows the CORE One to physically tap the print surface for a more precise measurement. The sensor is also used to calculate Z height, and it does it so well that there is no need for human intervention. Of course, there’s still a live Z adjustment available in the menu should you need it. During testing, we did not.
Prusa’s recently introduced and completely optional app is a huge improvement over the previously neglected Prusa Connect system. The system was initially developed for print farms, and was clunky to set up and use. The app makes getting online easier for the average user and allows you to monitor prints away from your workshop.
You can download gcode directly from Printables.com, but there is no slicer attached to the app.
Assembling the Prusa CORE One
The Prusa CORE One we reviewed came fully assembled and only needed to be unpacked. Simply pull it out of the box, snap the screen on and plug it in.
Once the machine is turned on, you’ll see a cartoon version of Josef Prusa to guide you through setup. The CORE One will run a few hardware checks, then walk you through loading the filament. Once the material is loaded, you can pick your first print from the USB stick. It will perform a bed level check and set the Z height before printing (and without asking you for help).
Leveling the Prusa CORE One
Bed leveling is a no-brainer, as the Prusa CORE One is fully automatic. There are no manual adjustments and no need to adjust the Z offset. The printer uses a load cell sensor connected to the nozzle, which physically taps the print surface for precise measurement.
The printer trams the bed and calculates the required z height before each print.
Loading Filament on the Prusa CORE One
Loading filament is very simple. Simply place the spool into side mounted rack and feed the plastic into the reverse bowden tube until it reaches the hotend. The printer will automatically detect it and pull it in the rest of the way. The screen will then ask what kind of material you’re using to set the temperature. Once it gets hot enough, it will pull the filament into the hotend and ask if the color has changed. If it has, you can say yes and move on. If the answer is no, it will purge more material.
To remove material, go to the Filament menu from the main screen and click unload. It will remember what material was last installed, determine if the filament is still there, and then heat it to the appropriate temperature. Once hot, it will retract the plastic until you can easily remove it.
Preparing Files / Software for Prusa CORE One
The Prusa CORE One comes with a copy of its native slicer, PrusaSlicer. This open source slicer is developed by Prusa Research and serves as the foundation for many other slicers. It comes with dozens of profiles for every material and nozzle size that Prusa Research makes.
Printing on the Prusa CORE One
The fully assembled CORE One comes with a full 1 KG roll of Prusament PLA Galaxy Black. If you want more colors and materials like silks and multicolor filaments, you should check out our guide to the best filaments for 3D printing for suggestions.
We used the sample material to print a Benchy to see what the CORE One can do with its fastest default slicer settings. We used Speed Benchy rules for fairness: 2 walls, 3 top and bottom layers, 10% infill, a .25 layer height and .5 layer width. Using these settings, we got a very nice benchy in 28 minutes.
Since I was working on Valentine’s Day prints, I whipped up a vase using Maker World’s Vase Maker. This is a handy little app by Bambu Lab that, yes, works for all printers. The vase was printed to get the most out of CookieCad’s clear Funfetti PLA. To keep the print as clear as possible, I pushed the printer to overextrude, printed slowly and bumped up the heat. This was printed at 235 degrees C, using a .8mm line width (with the standard .4 nozzle) and a .28mm line height in vase mode. This setting gives me a single wall that’s as thick as two “normal” walls and also speeds up the print. The vase completed in 2 hours and 10 minutes. It’s more translucent than clear, and the glitter really stands out.
For PETG, I printed one of my favorite roses from Thingiverse. This is using Prusament PETG in Carmine Red Transparent, with a .2 layer height and default settings for Prusament PETG. This print only took 2 hours – PrusaSlicer set the volumetric flow at 26 mm/s³ which didn’t slow the printer’s speed much at all. The resulting print is super smooth, with layer lines that melt away.
For TPU, I printed a tennis ball-sized Voronoi ball in Fiberlogy FiberFlex 40D, which really stress out the printer’s capabilities. The ball bounced extremely well until my puppy got a hold of it and ate it. This was printed at a .25mm layer height using PrusaSlicer’s default settings for FiberFlex in one hour and 20 minutes. The slicer slowed the print to about 30mm/s, which still resulted in a somewhat stringy print – not too surprising for TPU. The top and bottom printed very clean and the middle parts were easy to clean up. Best of all, the supports were easy to remove. It had excellent layer adhesion, though not enough to hold up to 40 pound puppy’s destructive urges.
For higher-temperature filaments, I loaded the CORE One with Prusament ASA Natural and printed a variety of things. The printer doesn’t have a separate heater for the chamber – instead, it warms up the interior by cranking the bed to 115 degrees C for a few minutes until the desired temperature is met. In my chilly basement, it had a hard time preheating all the way to 55 degrees C, but it did get to 47 degrees C on the preheat cycle and eventually got to 55 degrees C in the first 30 minutes of printing. None of my test prints showed signs of warping, so it must be working.
This fishing lure from Thingiverse turned out very smooth, with no visible layer lines. Four lures printed in one hour and 17 minutes, with a .2 layer high and PrusaSlicer’s default settings for ASA.
I also wanted to show off this frame for the popular Dummy 13 action figure, printed in the same ASA at 200%. Each part printed without a brim and stuck down perfectly. This is using the designer’s suggested .15mm layer height and took 3 hours and 37 minutes to print. The parts are silky smooth, and since I didn’t need to use the supporting runnings, snap together without problem.
Bottom Line
The Prusa CORE One is an outstanding machine and just what Prusa Research needs to compete in the modern marketplace. It’s still lacking a few creature comforts, like a built-in camera, but the company’s reputation for reliability and continued support through the years makes it a safe splurge.
Retailing at $1,199 for a pre-assembled machine and $949 for a DIY kit, the Prusa CORE One is not a budget machine, but it is definitely the best machine a beginner could start on. The enclosure and easy to reach spool holder, combined with Prusa Connect, make it a perfect machine for print farms that run high temperature filament. It’s also a reliable machine for schools, especially with a door that can keep little fingers out while printing basic PLA.
If you’re a tinkerer and already own an MK4S, the CORE One upgrade looks like a fun project that will net you the latest printer at half the cost. This machine will also be compatible with the Prusa MMU3 for five-color printing sometime in the near future.
If a Prusa machine seems just a bit too spendy for your budget, the Bambu Lab P1S Combo is still my favorite pick for easy and affordable color printing, with a price tag of $829 for the printer with AMS. The Creality K2 Plus Combo is also a solid choice for Core XY speed with four colors and a bit more elbow room. It’s currently $1,499.
MORE: Best 3D Printers
MORE: Best Budget 3D Printers
MORE: Best Resin 3D Printers