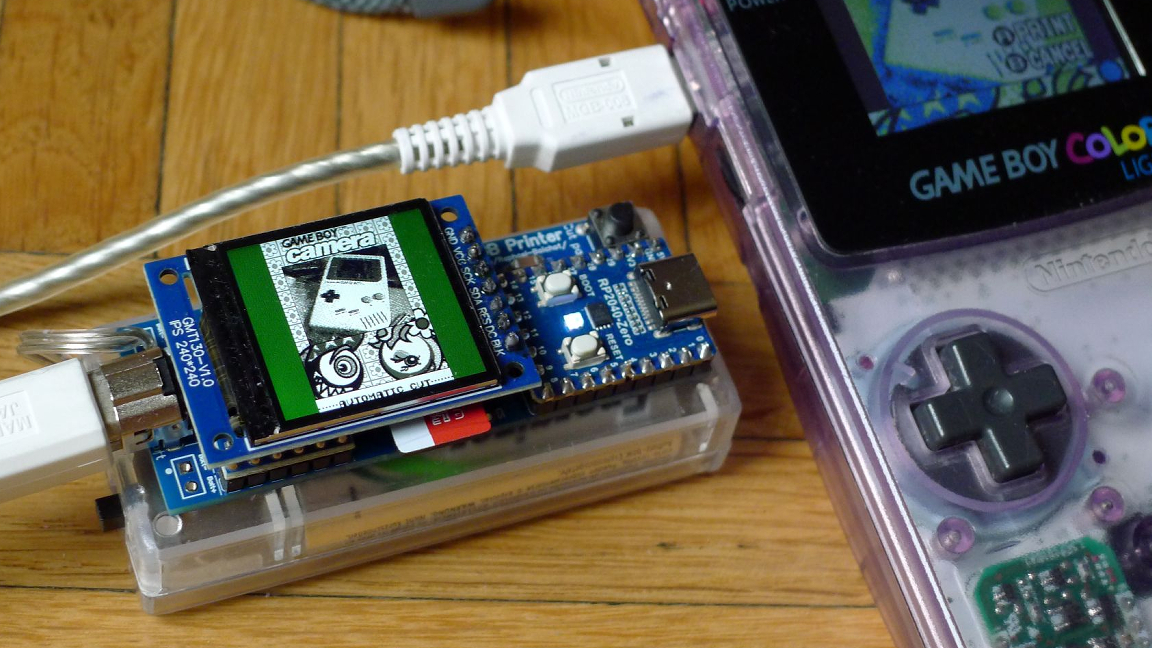
It’s no secret that the Raspberry Pi and the Raspberry Pi Pico can emulate a plethora of old school consoles. But Dr. Raphaël Boichot has taken things a step further by emulating a classic accessory to the Nintendo Game Boy line. Using our favorite microcontroller, the Raspberry Pi Pico, he’s created a Game Boy Printer emulator and dubbed the project TinyGB Printer.
You may be thinking “A printer for the Nintendo Game Boy?”. Yes it was a thing. Used with the Game Boy Camera, 90s kids had their own digital camera with a 128×112 grayscale resolution, and a thermal printer on which to share their snaps!
This printer can be plugged into the original Nintendo Game Boys and even features a display to show you the image files it’s saving. It’s important to note that this isn’t a thermal printer so you’re not actually creating physical printouts but rather the Game Boy sees the device as a printer which saves the images locally to an SD card. Dr. Boichot helped create an ESP32-based NeoGB Printer in the past with Rafael Zenaro which served as a starting point for this development.
According to Dr. Boichot, the TinyGB Printer is able to emulate all of the original printing modes including things like custom palette and compression options. The images are stored onto the microSD card as PNG files. Dr. Boichot confirmed that it’s compatible with various homebrew titles, as well.
To pull this project off, Dr. Boichot developed a custom PCB that works with an RP2040-Zero mini dev board. It connects to a 1.3-inch TFT display which has a resolution of 240 x 240px. A microSD shield is included for SD card support as well as a couple of buttons to operate the menu. The unit is powered by either NiMH AA or AAA batteries which are likely to be on hand if you’ve got an original Game Boy (or Game Boy Color) lying around. You can find a full parts list over at GitHub.
Dr. Boichot explains in the project thread that the code is taken from a previously created Arduino Game Boy Printer emulator which has been adjusted for compatibility with the RP2040. You don’t need to compile anything to get the software running but rather just need to drag and drop the UF2 files onto the device and start emulating.
If you want to get a closer look at this Raspberry Pi project in action, head over to the official TinyGB Printer project page shared to GitHub.
