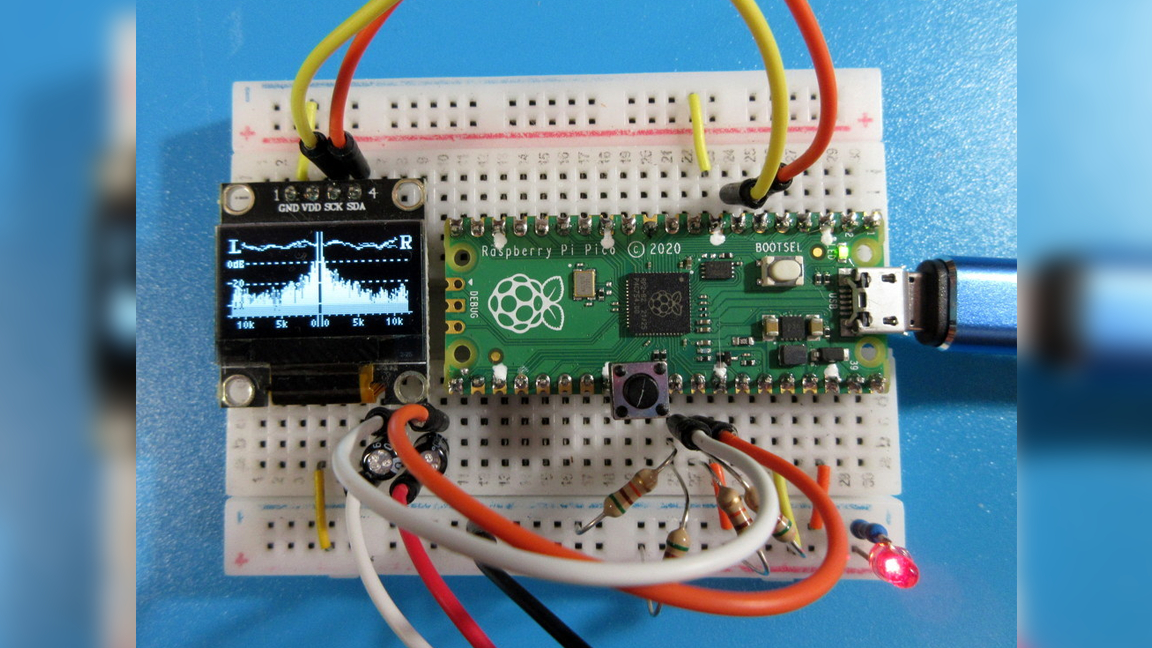
The developer and mastermind behind the Needle Nose Pliers blog is using a Raspberry Pi Pico to drive a custom audio spectrum analyzer. This project uses the Pico to process audio input and output a visualization of the sound it detects to a small OLED screen in real-time. This project is essentially the same sort of visual generator you’ll find in many media players that show a sound wave that wiggles and moves based on whatever audio you’re playing. A full breakdown of the project including a demo is available on the Needle Nose Pliers blog.
According to the blog post, the original plan was to develop the audio spectrum analyzer using an Arduino Uno which has 32 KB of flash memory. However, this plan was ultimately abandoned because of its memory restrictions and the Pico was selected as a stand-in thanks to its greater 2 MB flash memory capacity.
Thankfully, this project design—like most of his other work—is shared as an open-source project with plenty of details available for anyone who wants to recreate it or develop something similar. As we mentioned above, everything is driven by a Raspberry Pi Pico. It outputs to a .96-inch OLED with an SSD1306 interface. Audio samples are input to the Pico through AC coupling and biased with a resistor to be read as ADC input.
This is one of many microelectronics projects created and shared by the Needle Nose Pliers blog. The blog is self-described as an uncle’s diary with an inclination for developing fun projects focused primarily on electronics—often using small boards and microcontrollers in the process. These projects are usually demonstrated and shared over at YouTube.
The OLED is programmed to display both left and right stereo channels at the same time. According to Needle Nose Pliers, the OLED displays the audio with a 5 kHz sine wave. The wave is updated in real-time based on the audio input it receives.
If you want to recreate this Raspberry Pi project or develop something like it, check out the original Needle Nose Pliers blog post for the source code and be sure to check it out in action in the demo video shared to YouTube.
