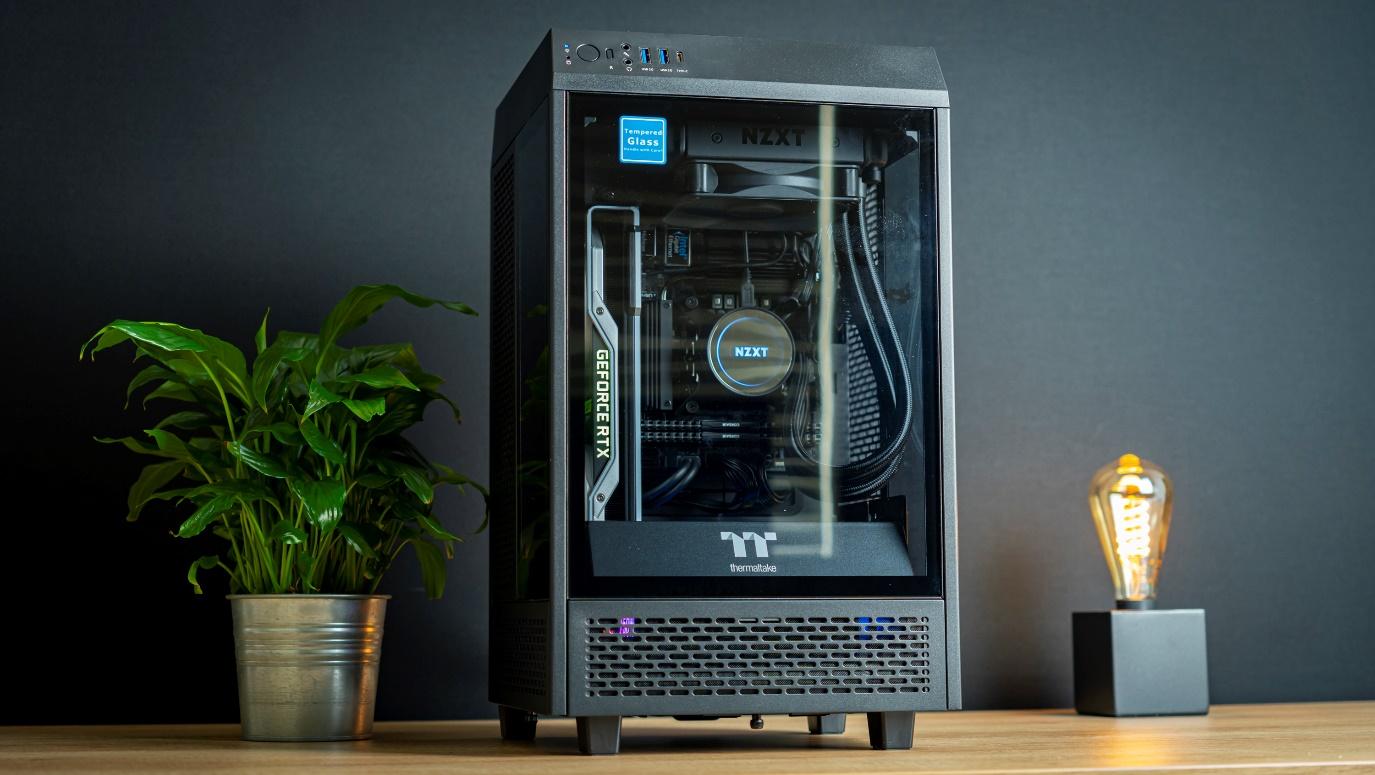
Thermaltake’s The Tower 100 is a new ITX chassis that comes with a totally different design from what we’re used to. It places the motherboard along the back wall of the chassis, GPU directly into the PCIe slot, rear IO at the top under a cover, and a large ATX power supply in the basement. It’s bigger than most ITX cases, but it’s got a unique design that may appeal to those who want to show off their hardware, thanks to the glass on three sides.
But although it’s a small showcase, it does limit practicality somewhat by favoring form over function. Without further ado, let’s dig a bit deeper and find out if the case is good enough for a spot on our Best PC Cases list.
Specifications
| Type | Mini-ITX |
| Motherboard Support | Mini-ITX |
| Dimensions (HxWxD) | 18.2 x 10.5 x 10.5 inches (462.8 x 266 x 266 mm) |
| Max GPU Length | 13.0 inches (330 mm) |
| CPU Cooler Height | 7.5 inches (190 mm) |
| Max PSU Size | ATX, up to 7.1 inches (180 mm) |
| External Bays | ✗ |
| Internal Bays | 2x 2.5-inch |
| Expansion Slots | 2x |
| Front I/O | 2x USB 3.0, USB-C, Headphone, Mic |
| Other | ✗ |
| Front Fans | ✗ |
| Rear Fans | 1x 120mm |
| Top Fans | 1x 120mm |
| Bottom Fans | ✗ |
| Side Fans | ✗ |
| RGB | No |
| Damping | No |
Features
Image 1 of 3
Image 2 of 3
Image 3 of 3
Touring around the outside of the chassis, two things that are immediately clear are the lavish amount of glass that’s included for an ITX case, and the ventilation. Glass doesn’t do many favors for cooling, but ventilation does, and from the looks of it, there’s plenty to be found here.
The materials quality isn’t the most stunning, but given that this chassis carries an MSRP of just $109, it’s nothing to be upset about and more than adequate. Only the shroud around the top of the chassis is made from cheap plastic, though it is color-matched quite well to the rest of the case.
Image 1 of 2
Image 2 of 2
Front IO comprises two USB 3.0 ports, a USB Type-C port, dedicated microphone and headphone jacks, and of course power and reset switches. This is all very complete, and much appreciated at the case’s price.
Meanwhile, air filters are also provided on all possible air intake locations. All the side and front vents have filters. The top and rear exhaust have filters, and the bottom PSU intake has an air filter. Of course, that’s a good thing, but there’s a good reason for it: With no dedicated spots for fan-assisted air intake, every corner better have filtration or you’ll end up with significant dust buildup.
Opening Up the Tower 100
Opening up The Tower 100 is a bit of a tedious process, but let’s start with the teardown to reveal the case’s internals. First, you pop off the top cover by pressing down the back to click it out, revealing access to the top-mounted rear IO location. You’ll also spot an exhaust fan here, along with all the cabling for the front IO.
Then, you have to remove five screws to remove the plastic shroud. It then comes right off, and you can remove the glass panels.
Image 1 of 2
Image 2 of 2
Then, we remain with the bottom vents, which are removed by unscrewing them from below. The thumbscrews here are quite tight, so you’ll need a screwdriver to get them off. Personally, I would have preferred to see the front and sides as a single panel and the top shroud stuck on with clips. As designed, it’s quite a bit of work to get the side panels off – a lot more than most ATX cases.
The rear panel comes off by removing four thumbscrews, again bring your screwdriver.
And with that, we have the chassis stripped down to its bare essentials.
The only remaining thing to mention about the internals of the chassis is the dual SSD brackets on the right side, where you can mount your 2.5-inch drives somewhat on display.
A Word on Hardware Compatibility
This chassis is primarily aimed at offering a lot of GPU space and compatibility. As such, fitting large GPUs up to 13 inches (330mm) is a breeze, but you won’t get a lot of CPU cooling potential. The biggest AIO that fits in here is a 120mm unit, which isn’t much. For gaming, this will be fine, but if you’re also running a very powerful Intel CPU and doing a lot of CPU-intensive tasks, you may want to look elsewhere.