When the Raspberry Pi Pico was released, UK retailer Pimoroni were the first to market with a slew of add-ons for the latest Pi. The Pico Display retails for around $20 and is a small IPS screen with pushbuttons and RGB LED that connects directly to the Pico and acts as a fun introduction to writing code that will appear on the screen. While it may just be “a bit of fun” for most, Pico Display and the Raspberry Pi Pico have enough power to competently create games and animations in a package no larger than a pack of gum.
Design and Use of the Pimoroni Pico Display
Image 1 of 3
Image 2 of 3
Image 3 of 3
The Pico Display is a pack, a term used by Pimoroni to describe a board which attaches to the pins of a Raspberry Pi Pico, in much the same way as a backpack. Measuring just 2 x 1 x 0.3 inches (53 x 25 x 9mm) Pico Display is only slightly larger than the Pico itself. Dominating the Pico Display is a 1.14 inch 240 x 135 pixel IPS LCD screen. Power to the Pico Display is sent via the 3V3 GPIOpin and the Pico Display communicates with the Raspberry Pi Pico via an SPI interface. Also present on the Pico Display are four pushbuttons (A,B,X,Y) and a single RGB LED.
To use the Pico Display we need to flash Pimoroni’s custom version of MicroPython which has the MicroPython libraries for this and other boards in their range. There are also C/C++ libraries for Pico Display should you require them.
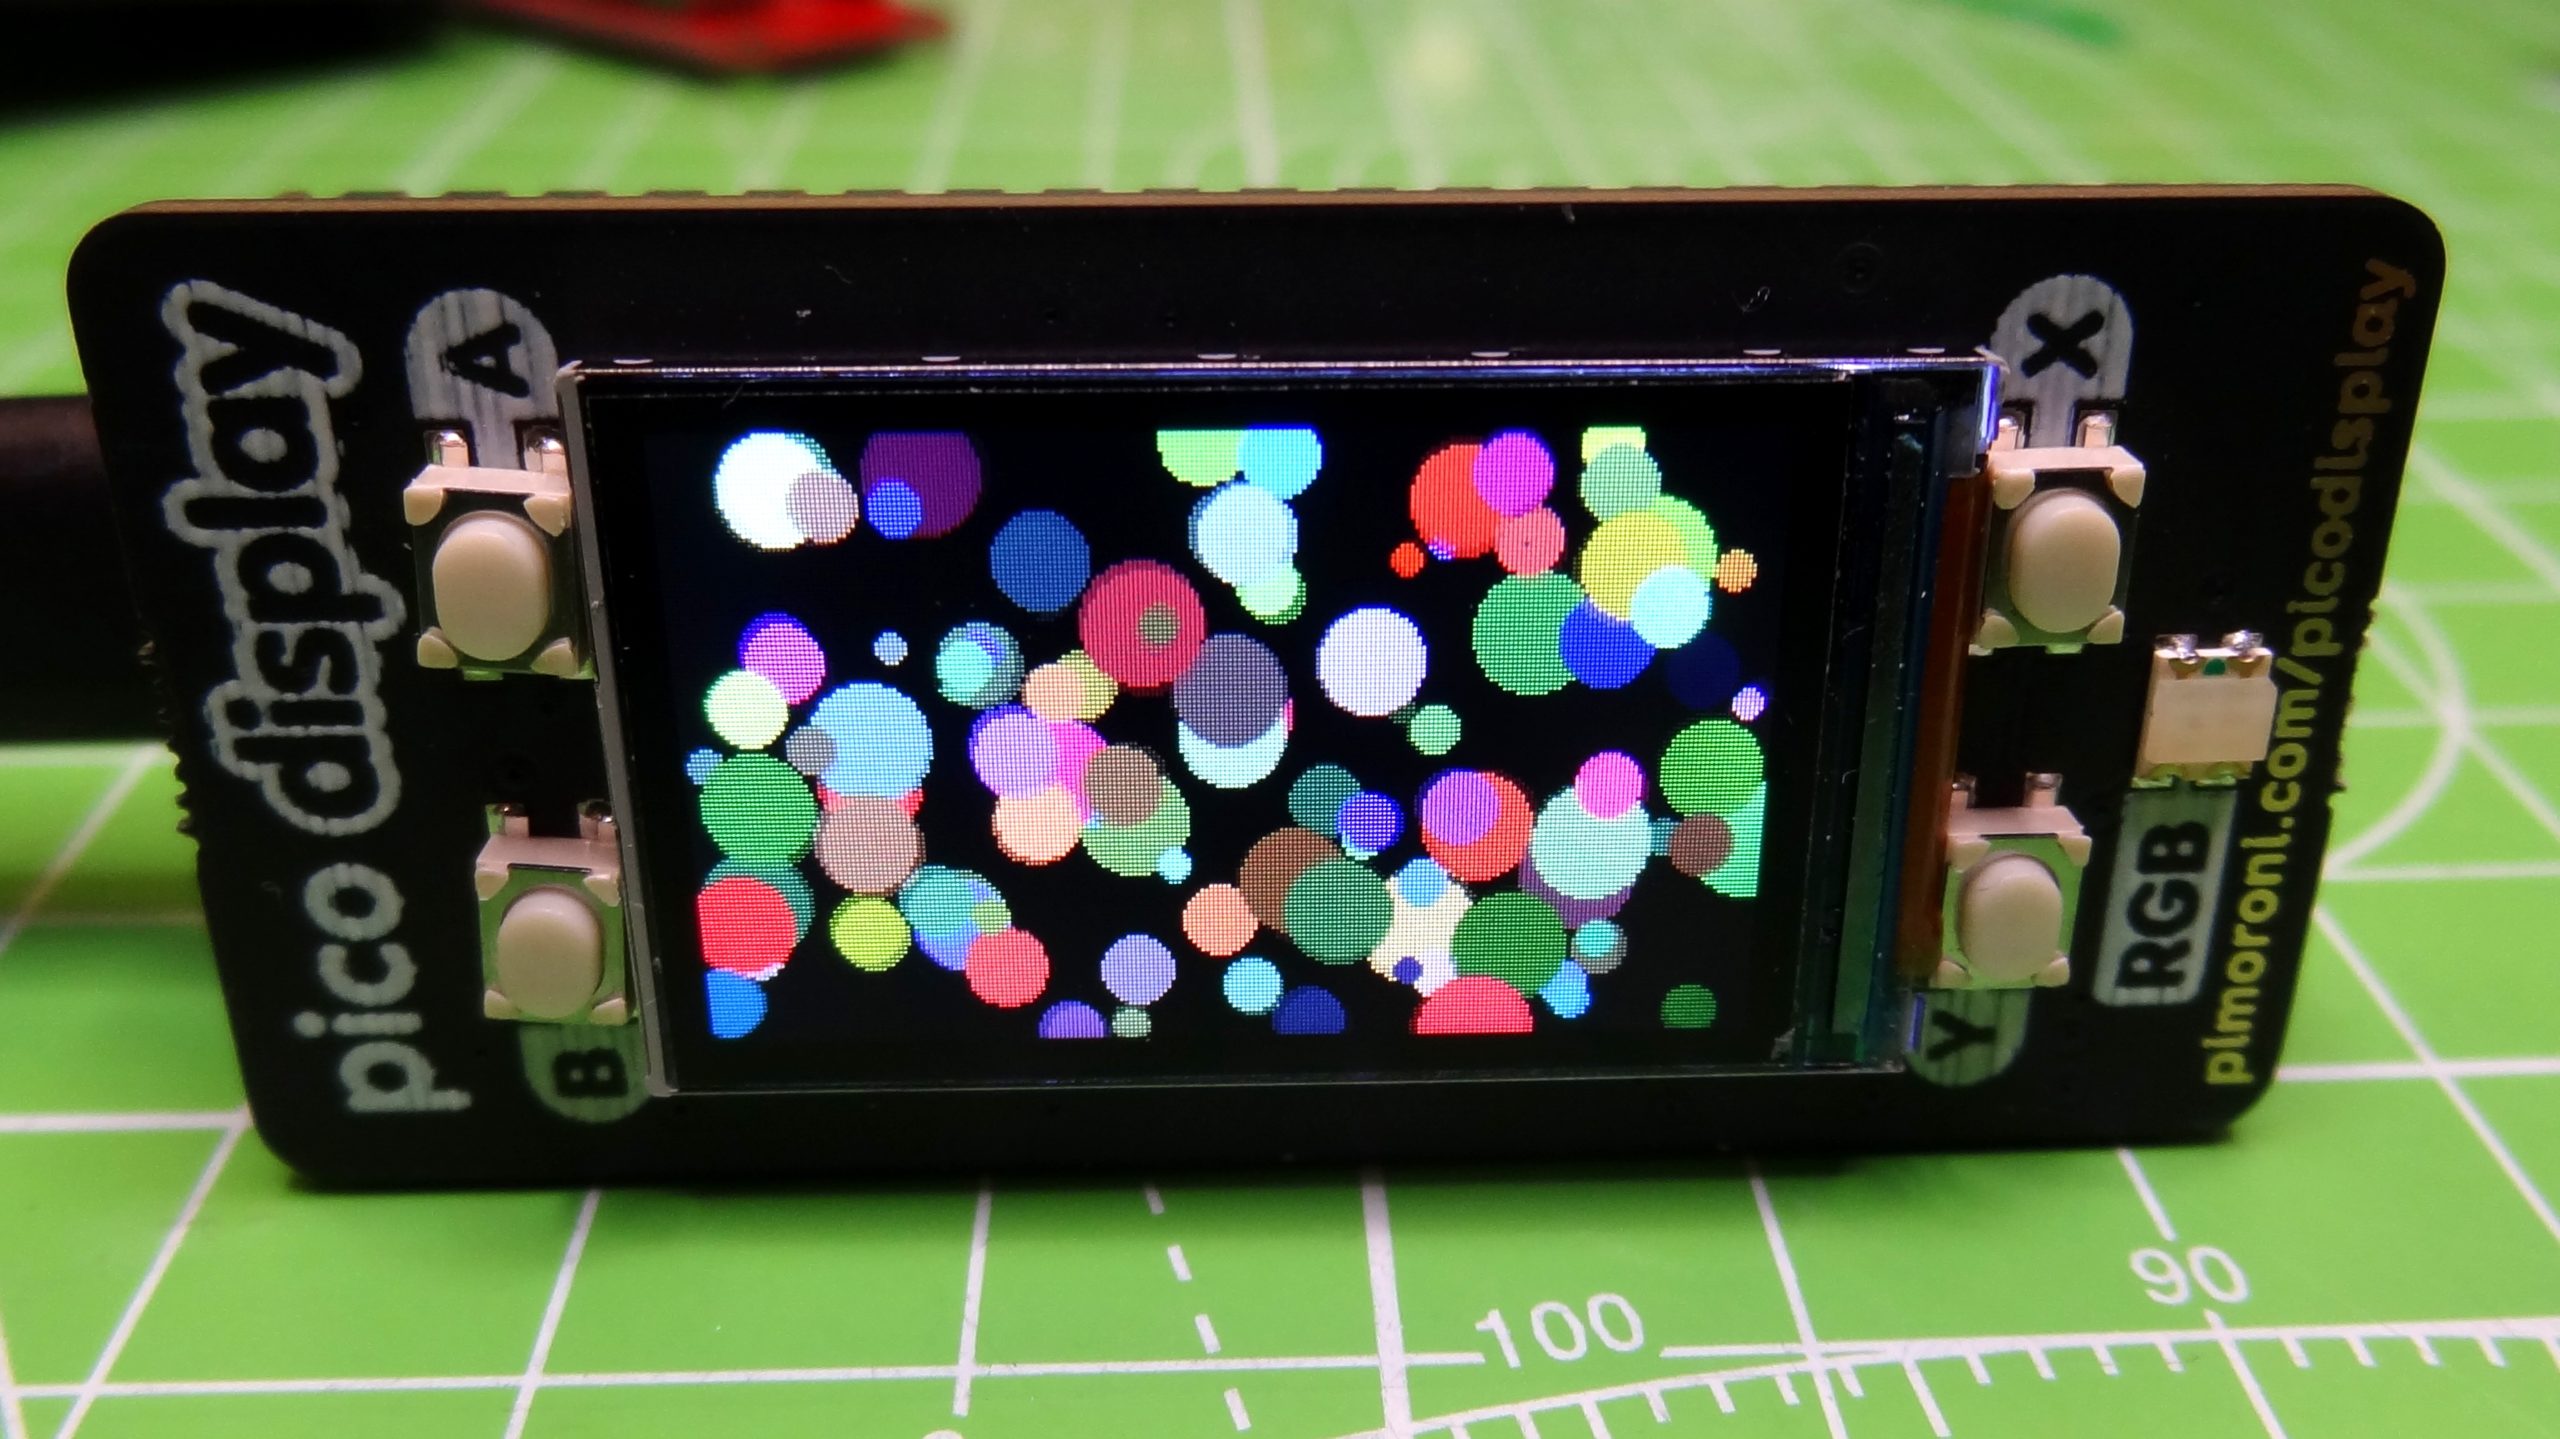
To get a feel for Pico Display we looked to the demos and tried a few out. The first demo that we saw, demo.py, draws random sized and colored circles on the screen. These circles bounce around the screen giving the illusion that they are bound to the laws of physics. Even with 100 circles bouncing around the screen everything ran smoothly.
Spurred on by this demo, we decided to write something to scroll text across the screen. Each time the code looped it would choose a different color for the text, and that color would also be used for the RGB LED. This took a little bit of time to write, more from our understanding of the process than problems with the library.
Once our logic problem was solved, we had scrolling text and random colors. But what next? The four buttons at the corners of the screen had not yet been used, so we adapted our code to include conditional statements that would look for a button press and then run the block of code associated with that condition. In our case it was three different text strings, two with randomly chosen colors and one with a set text color and different background color. The MicroPython library for Pico Display is easy to use, once you understand the process of how it updates the screen
Use Cases for the Pimoroni Pico Display
As this is a pack, despite using only a handful of GPIO pins, it denies access to all of them and this will limit where and how it can be used. If you would like to make a simple scrolling text name badge or inspirational quotes then Pico Display is for you.
But this board is not limited to merely text. It can also be used to make your own video games such as Tetris. If you would like to use the Pico Display with another board, then you would need to purchase the Pico Omnibus two way expander or the Pico Decker quad expander, but be mindful of the GPIO pins that each board will use, as clashes will prevent the boards from working.
Bottom Line
Pimoroni’s Pico Display is a low cost way to create unique animated projects with your Raspberry Pi Pico. Using the Pico Display with MicroPython is simple and we can get decent results with very little code.
Like the Pico Unicorn pack, the Pico Display is more of a means to learn a new skill while having fun, than a serious board to solve a problem. However, this is not a negative as the Pico Display uses the same library as the Pico Base Explorer and that means the skills learnt on one are transferable to the other.