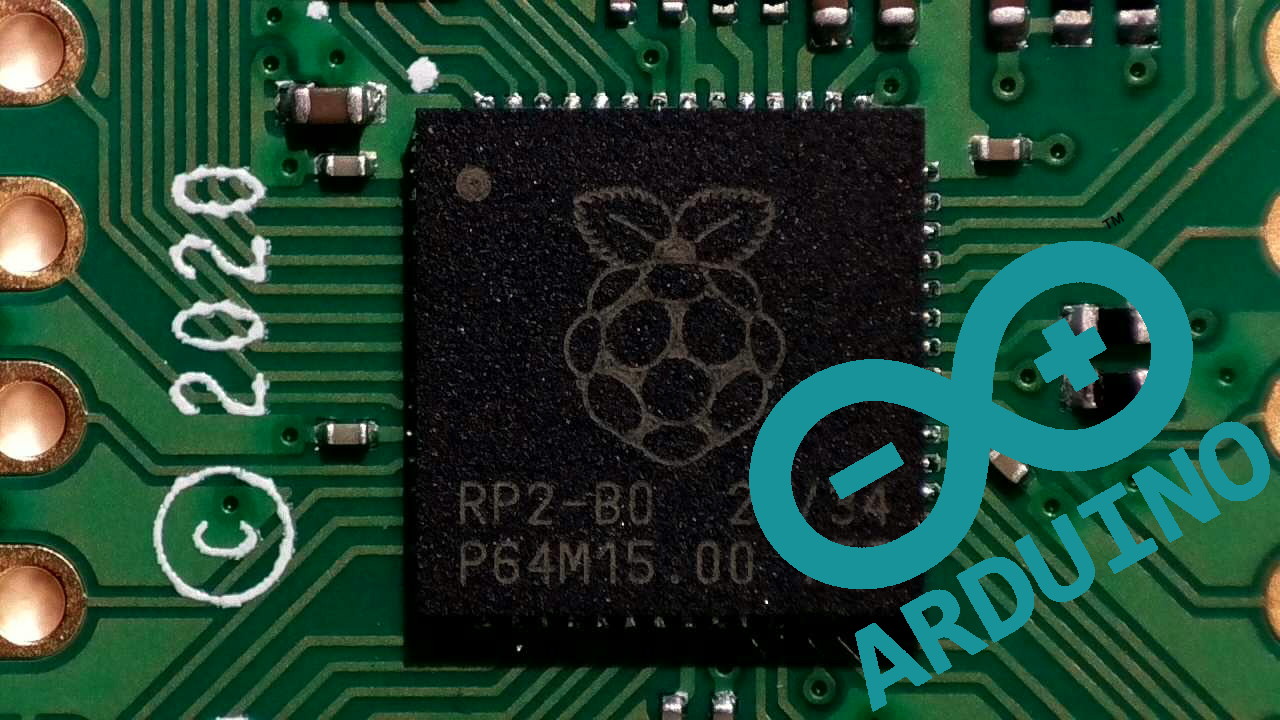
Wiring code for your Raspberry Pi Pico can fall into two categories. The easy way for new users is to use a version of Python such as MicroPython or CircuitPython. A more advanced way is to write code in C / C++ which is for more confident users.
There is now a third way that we can write code for our Raspberry Pi Pico, and that is via the Arduino IDE, which uses “Arduino Language,” a derivative of C++. Because Arduino has been around for so many years, there’s a ton of pre-existing “sketches” (the Arduino term for programs) and tutorials for it. If you’ve worked with Arduino boards before, you may be very familiar with this powerful IDE and language.
We’ve gone through many different setup processes and found two community created projects that streamline the installation process to just a handful of steps. The first is pico-setup-windows which is a Windows port of the official Pico setup script. The second is Arduino-Pico which adds support for the Raspberry Pi Pico to the Arduino IDE. In this tutorial we show you how to set up your Windows or Ubuntu machine to write Arduino code on your Raspberry Pi Pico
How to Program Raspberry Pi Pico in Arduino IDE for Windows
1. Download the pico-setup-windows installer. This is a fairly large download.
2. Launch the installer.
3. Ensure that all of the components are selected. This will install approximately 360MB of files and applications to your machine. Including the files necessary for building C/C++ files, Visual Studio Code, and Git version control.
4. Click Install to install all of the applications. This can take some time, and at times it may appear stuck, but be patient.
5. Download the Arduino IDE and install it to your machine. We chose v 1.8.13, but the beta of v 2.0 also works.
6. Open the Arduino application and navigate to File >> Preferences.
7. In the additional boards manager, add this line and click OK.
https://github.com/earlephilhower/arduino-pico/releases/download/global/package_rp2040_index.json
8. Go to Tools >> Board >> Boards Manager.
9. Type “pico” in the search box and then install the Raspberry Pi Pico / RP2040 board. This will trigger another large download, approximately 300MB in size.
10. Go to Tools >> Board >> Raspberry Pi RP2040 Boards and select Raspberry Pi Pico.
11. Connect your Raspberry Pi Pico and using Device Manager locate the COM port that it is connected to.
12. Under Tools >> Port, set the COM port for the Raspberry Pi Pico.
13. Open Files >> Examples >> Basics >> Blink to test that we can write code to the Arduino.
14. Click on Upload to write the code to the Raspberry Pi Pico. The default Blink sketch will flash the green LED next to the micro USB port on the Raspberry Pi Pico.
The output window will tell us when the upload is complete. Look at your Raspberry Pi Pico and you will see the green LED flashing once per second.
How to Program Raspberry Pi Pico in Arduino IDE for Linux
We used Ubuntu for this tutorial, but the same instructions should work for other Debian based distributions such as Raspberry Pi OS.
1. Open a terminal and use wget to download the official Pico setup script.
$ wget https://raw.githubusercontent.com/raspberrypi/pico-setup/master/pico_setup.sh
2. In the same terminal modify the downloaded file so that it is executable.
$ chmod +x pico_setup.sh
3. Run pico_setup.sh to start the installation process. Enter your sudo password if prompted.
$ ./pico_setup.sh
4. Download the Arduino IDE and install it to your machine. We chose v 1.8.13, but the beta of v 2.0 also works.
5. Open a terminal and add your user to the group “dialout.” This group can communicate with devices such as the Arduino. Using “$USER” will automatically use your username.
$ sudo usermod -a -G dialout “$USER”
6. Log out or reboot your computer for the changes to take effect.
7. Open the Arduino application and go to File >> Preferences.
8. In the additional boards manager add this line and click OK.
https://github.com/earlephilhower/arduino-pico/releases/download/global/package_rp2040_index.json
9. Go to Tools >> Board >> Boards Manager.
10. Type “pico” in the search box and then install the Raspberry Pi Pico / RP2040 board. This will trigger another large download, approximately 300MB in size.
11. Go to Tools >> Board >> Raspberry Pi RP2040 Boards and select Raspberry Pi Pico.
12. Connect your Raspberry Pi Pico
13. Run a command to locate the USB device which identifies as a Raspberry Pi Pico. In our case it was ttyACM0.
$ dmesg14. Open Files >> Examples >> Basics >> Blink to test that we can write code to the Arduino.
15. Click on Upload to write the code to the Raspberry Pi Pico. The default Blink sketch will flash the green LED next to the micro USB port on the Raspberry Pi Pico.
The output window will tell us when the upload is complete. Look at your Raspberry Pi Pico and you will see the green LED flashing once per second.
Raspberry Pi Pico Tutorials:
- How to Set Up and Program Raspberry Pi Pico
- How To Solder Pins to Your Raspberry Pi Pico
- How To Get Wi-Fi, Internet on Raspberry Pi Pico
- How to Use an OLED Display with Raspberry Pi Pico
- How to Use an Ultrasonic Sensor with Raspberry Pi Pico
